How to Make Thumbnails For YouTube Videos
Many content creators believe that a thumbnail can be thrown together at any moment, as long as it exists, and that if the video topic is interesting, viewers will click on the thumbnail regardless of what is depicted or written on it. However, if the thumbnail barely relates to the video's topic, if the viewer struggles to make out the text and images, and if it simply doesn't catch the eye — your thumbnail won't get a click, and won't gain a view. Here are a couple of examples of bad thumbnails.
Most of the time, creators dedicate 99% of their time to creating the video, leaving only one unfortunate percent for creating the thumbnail and title. Let's be honest, this is usually left to the last second, when the video is already about to be uploaded to the channel.
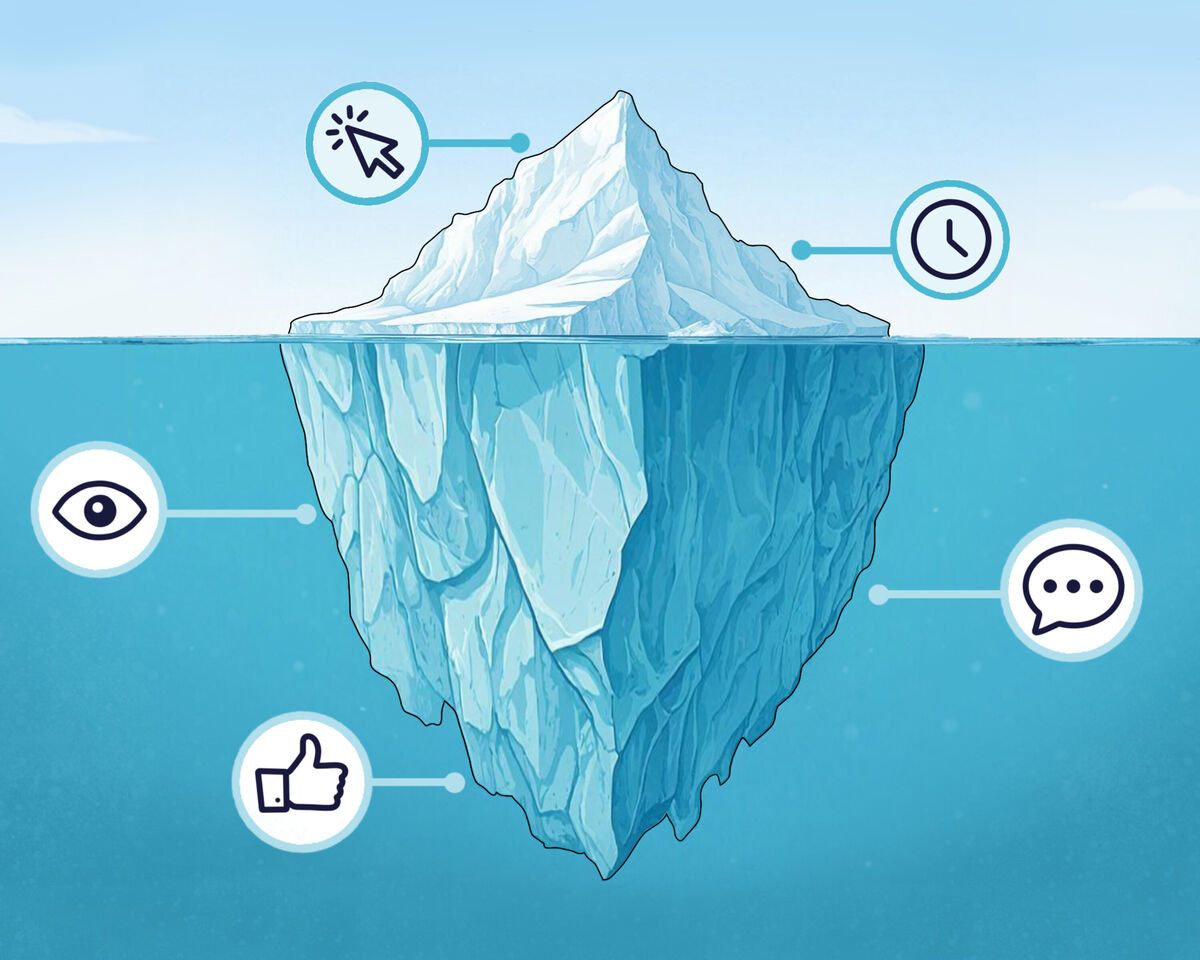
This raises a question: doesn't it seem strange that we devote just one percent of our time and effort to something that accounts for almost half of our video's success?
Let's start with a mindset shift: Assume that creating a thumbnail requires just as much effort and time as producing the video itself.
Another point to consider is the time and effort top creators invest in their thumbnails; many of them have entire teams dedicated to this task, as they often mention in interviews.
Take, for example, Mark Rober, a millionaire blogger. In his latest video, he used seven different thumbnails to choose the best one. And in another video about a cool wheelchair — six.
We hope this has given you some insight into the importance of the thumbnail creation process. Now, let’s move on to the first stage of making thumbnails:
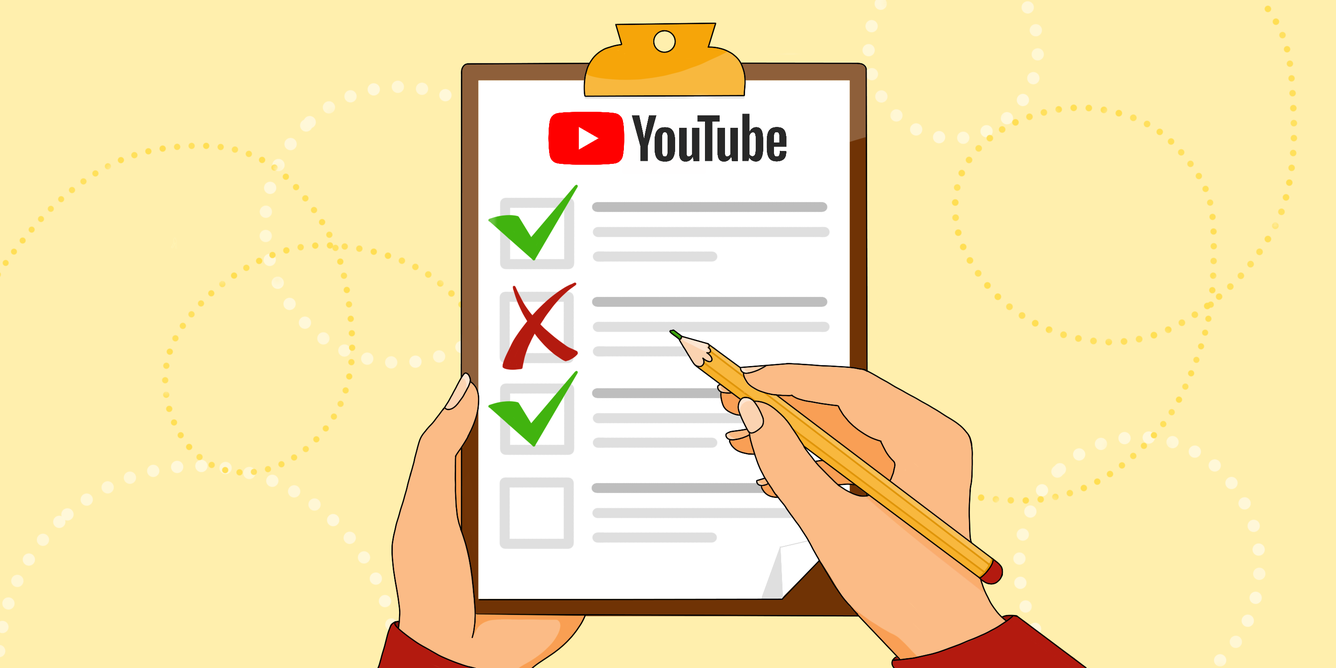
A checklist for creating an attractive thumbnail
- Create an idea
It might seem strange to start with something so basic but does the idea for a thumbnail directly depend on the idea of the video? Yes and no.
The idea of the video could be, for example, a clip about how you are attempting to build a birdhouse for the first time using only YouTube tutorials.
But will this description help you create a thumbnail? possibly.
Let's create some options for the thumbnail:
- You, sweating and crafting something. Your face and the emotion on it should be highly visible.
- Separately depicted birdhouse, showing that you succeeded but still leaving some mystery — intrigue should remain.
- You might add text like, “Building a Birdhouse Using Internet Tutorials,” or you might choose to go without text.
This is a good way to chunk down your creation process. Come up with a elements that may be included in your thumbnail.
- Use a classic thumbnail format
Let's keep the classic format straightforward. First, we’ll focus on creating something simple, and then we can delve into more complex aspects.
So, a classic thumbnail consists of three elements: background, main character, and details.
The next thing you'll need when creating the perfect thumbnail is knowledge of composition. To keep things simple, let's consider just two composition options:
- Symmetry: This is when the main object is positioned in the center of the image, with details or text arranged symmetrically around it.
- Rule of thirds: This is when the main subject of your thumbnail is placed in the left or right third of the image, while the remaining two-thirds are either left empty or filled with text and details, ensuring that the focus remains on the main object.
In general, the Rule of Thirds is a simplified version of the concept of the "golden ratio," but since we've agreed to keep things straightforward, let's stick to just the Rule of Thirds for now and practice using it.
Another crucial point is focus.
It’s impossible to create an attractive thumbnail where all three elements — background, text, and main subject, and perhaps additional details — are equally bright and significant.
So, let's agree to focus on making just one element the main highlight, whether it's a person as the main character, text, or an important object related to the video.
In fact, it's worth noting that minimalism in thumbnails is your best friend. Even if you think it's essential to include everything in your preview because everything seems important, trust me — it’s just an illusion.
Even the most popular creators follow this rule, although it might seem like they can afford to do whatever they want since viewers will watch their content regardless.
Another interesting element is contrast.
It’s a great way to highlight important objects and details, although it can be a bit more challenging as you'll need to work with different color combinations effectively. This can include classic black and white contrasts, a bright element against a desaturated background, or the contrast between natural tones of the object and a vivid background.
Let's pause here for now, as there are countless techniques to explore, and we will definitely cover them all in the future.
Now, let's move on to the most exciting part — creating thumbnails.
Disclaimer: None of the resources we’re going to discuss have paid us for advertising. We have checked each service, reviewed their usage licenses, so we are not endorsing any particular one but simply recommending what works and might be useful to you.
Thumbnails design tools
- Stock websites
Let's begin by exploring various websites where you can download free, ready-made images.
For example, Freepik offers a vast selection of stock images that you can use, provided you include attribution in the video description by adding the line "Designed by Freepik."
It’s not difficult, and you can find images on any topic. Registration is not required. On Freepik you can find stock videos and even use their AI to generate images if you register, but note that the number of image generation attempts is limited in the free version.
Another site for stock images is 123RF, which offers both free stock images and AI-generated images. To use this site, you’ll need to register and also include attribution in your video description. Additionally, make sure to check that the license is free, as only free licenses allow for commercial use. When downloading images, the site will provide guidance on how to credit the creator properly. However, downloading AI-generated images will require a subscription.
Lastly, there's Pexels. The conditions on this site are quite favorable: attribution is not required but appreciated, and registration is not needed. When selecting images, make sure the license is either CC (Creative Commons) or CC0, which allows for commercial use.
In summary, stock photo sites offer a wide range of images for your thumbnail background, and with a bit of searching, you can find something that works as a detail or main subject for your video thumbnail.
-
AI
Earlier, we mentioned Freepik, which includes its own image-generating AI. Let's also take a look at a service entirely focused on image generation and free to use — Playground.
Playground is an AI image generator that turns text prompts into images. Here’s what you need to know:
- Registration is needed: You’ll need to sign up to use the service.
- Functionality: In the free mode, you can create up to 50 images per day, adjust image formats, upload your own photos, and change the style of the image.
- Limitations: Photorealistic styles and high performance without daily limits are only available in the paid version. However, even without these features, you can create some really cool images.
It’s important to understand that AI doesn’t work perfectly, so the 50 free image generations can be used up quickly. Additionally, the AI might struggle with certain requests, such as faces or specific items of clothing, and detailed descriptions don’t always guarantee the desired outcome.
- Usage conditions: You can use whatever you generate as you wish. Everything you create is yours to use.
Next one is : FUSION BRAIN.
On this site you can choose and create your own formats and styles. Interestingly, Playground supports various languages for text prompts and features something called a negative prompt, which helps remove unwanted elements from the generated image.
We had to prompt the AI multiple times to create a photorealistic silhouette of a moose against a forest and sunset background, and we faced significant challenges. Sometimes it rendered a deer, other times it omitted the forest, or the image wasn't photorealistic. Despite keeping the prompt mostly consistent, the results varied.
In summary, the team still has room for improvement, but overall, the service is usable and can handle many of your requests. You can use AI for creating individual parts of your thumbnail or even for generating the entire image, leaving you to just add text.
Bonus Tip: For removing backgrounds from images, try Photoroom. Among the services we tested, it’s the only one that maintains acceptable image quality without requiring a paid subscription.
Thumbnail editing
We’ve now reached the final stage of creating video thumbnails. We have an idea for the image, a clear understanding of what needs to be depicted and how to arrange it, and by this point, we’ve downloaded or created all the necessary components for the thumbnail.
Let’s move on to the final stage. We recommend two services that offer ample free functionality to create a video thumbnail of almost any complexity.
Our recommendations are Canva and Adobe Express.
It’s important to note that both Adobe and Canva offer a wide range of free templates for YouTube video thumbnails. If you’re not keen on designing from scratch, using these templates is better than having nothing at all.
However, if you’ve read our detailed guidelines on how a thumbnail should be technically structured, you'll quickly notice that 90% of the templates are subpar. Both Adobe and Canva allow you to find something that fits your channel's style or even create your own design. You can add various effects, icons, and try out multiple fonts.
In Canva, background removal is a paid feature, whereas in Adobe, it’s free. That’s a bonus for Adobe. On the other hand, Canva has its own AI that generates images based on prompts. In the free version of the “Magic Media ” tool, you get 49 credits for image creation per month; anything beyond that requires payment.
One quirk is that Canva’s generated images only fit a square background, requiring manual cropping to the desired format. It’s odd but free.
No one said creating thumbnails would be easy; it will likely take some time. However, by combining the efforts of AI tools, stock sites, and editor templates, you can create something truly engaging and visually appealing. This will help you stand out among competitors and increase your chances of getting clicks and views.
The best part is that once you’ve invested the time to design your thumbnail and fine-tune the details, you can use templates and follow a streamlined process, making future thumbnail creation much quicker and easier.
With practice and persistence, you’ll find that thumbnail creation becomes an enjoyable and rewarding part of your content strategy. So, get started, let your creativity flow, and watch your thumbnails draw in the audience your content deserves!